

Set up the Payroc payment provider once per company. POS payment methods and online checkout both use this provider for API credentials.
Open the provider
-
Go to Accounting → Configuration → Payment Providers
(or Website → Configuration → Payment Providers, depending on your apps). -
Open Payroc.
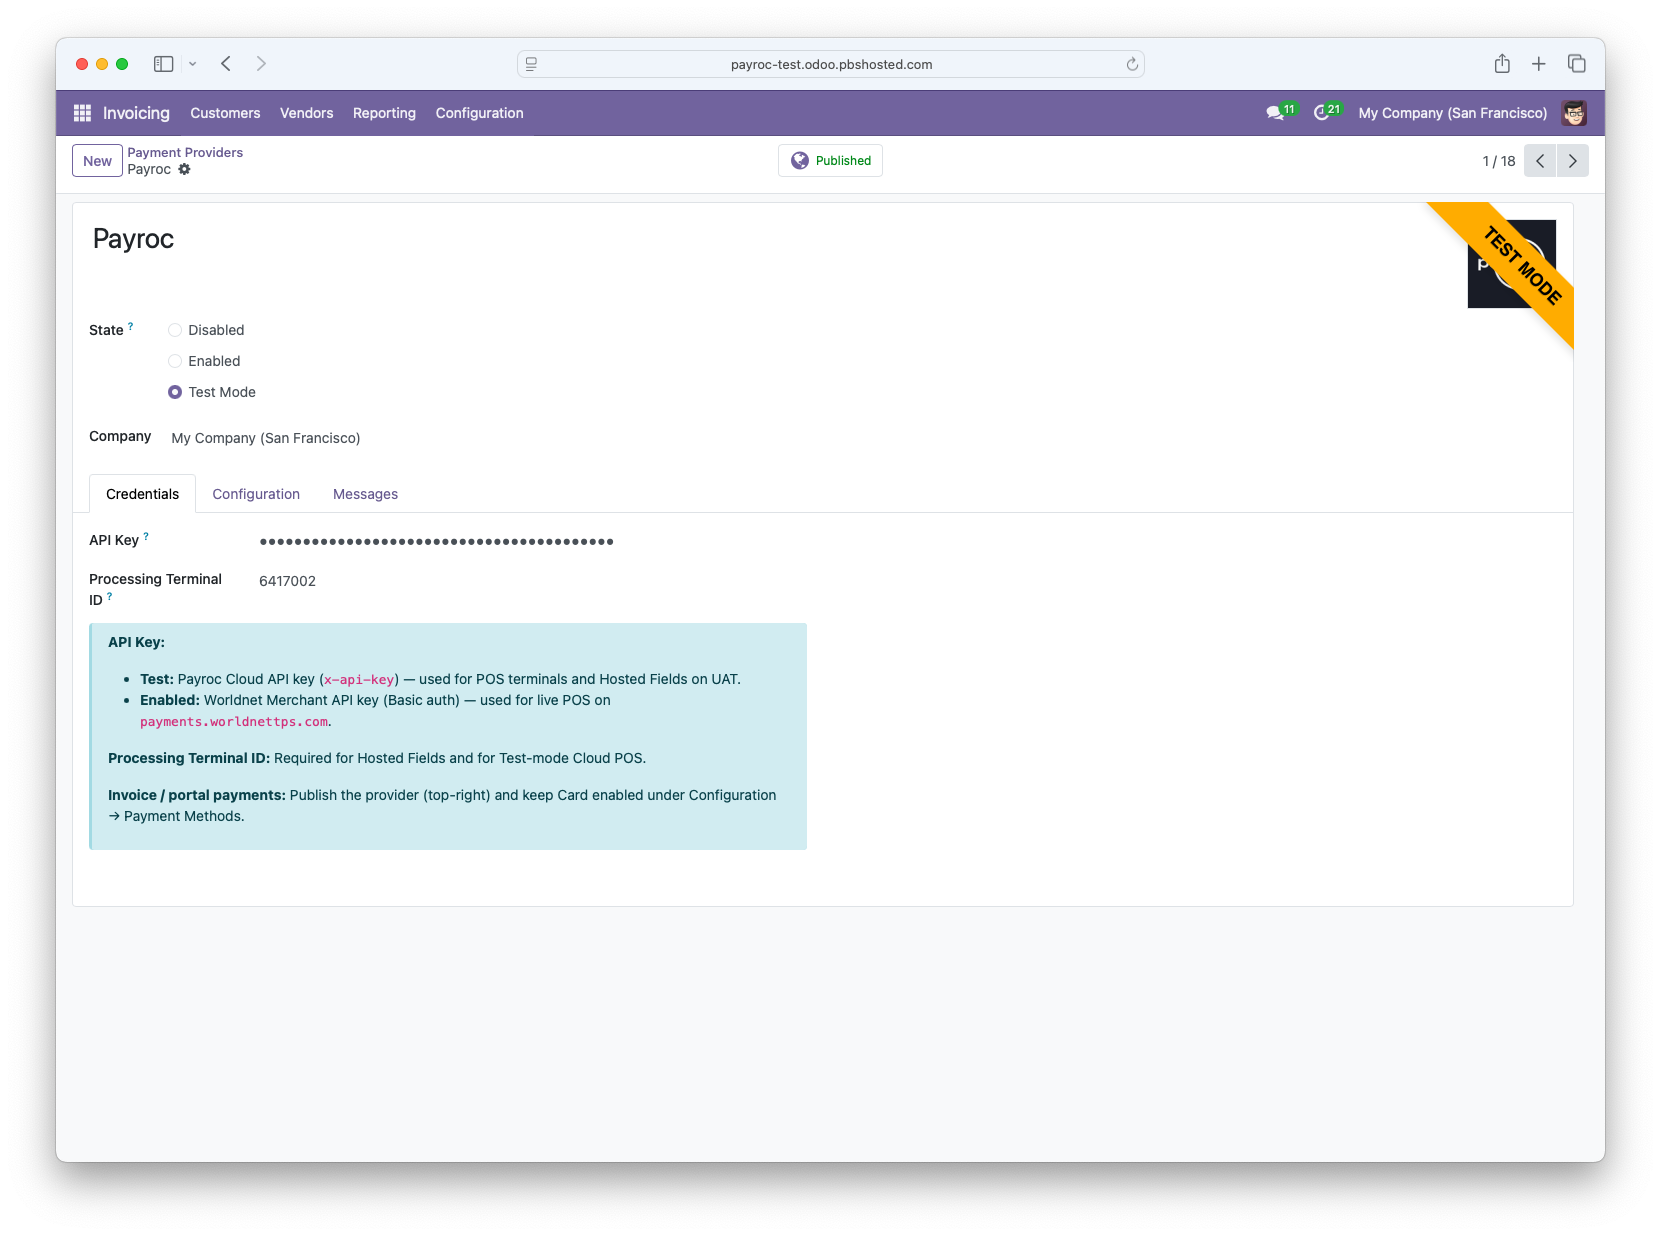
Choose Test or Enabled
|
State |
When to use |
API key type |
|---|---|---|
|
Test |
UAT / training |
Payroc Cloud API key (UAT) |
|
Enabled |
Live card processing |
Worldnet Merchant API key for live POS; Cloud production key still required for Hosted Fields / Manual Entry / online |
Do not mix keys: a live Worldnet key will not work in Test, and a UAT Cloud key will not work in Enabled.
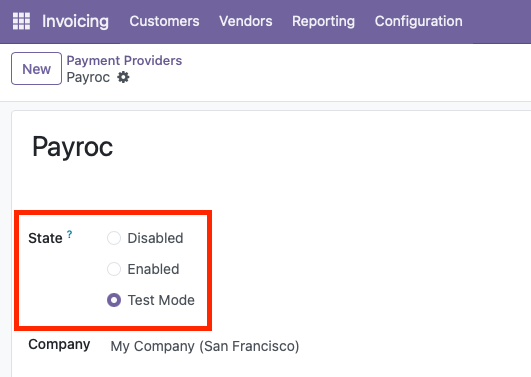
Credentials
On the Credentials tab:
-
Enter the API Key for the mode you selected.
-
Enter the Processing Terminal ID (required for Hosted Fields, Manual Entry, and Test-mode Cloud POS).
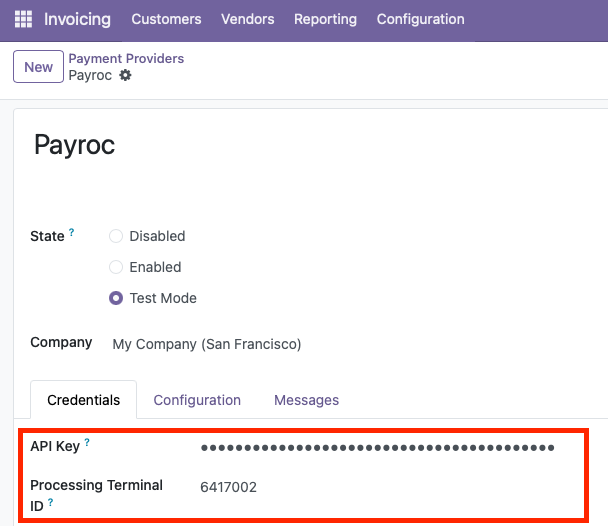
What each field is for
|
Field |
Purpose |
|---|---|
|
API Key |
Authenticates Odoo to Payroc / Worldnet |
|
Processing Terminal ID |
Identifies the merchant terminal for Cloud / Hosted Fields flows |
Publish and payment methods
-
Set the provider to Published (top-right) so it can be used for online and related flows.
-
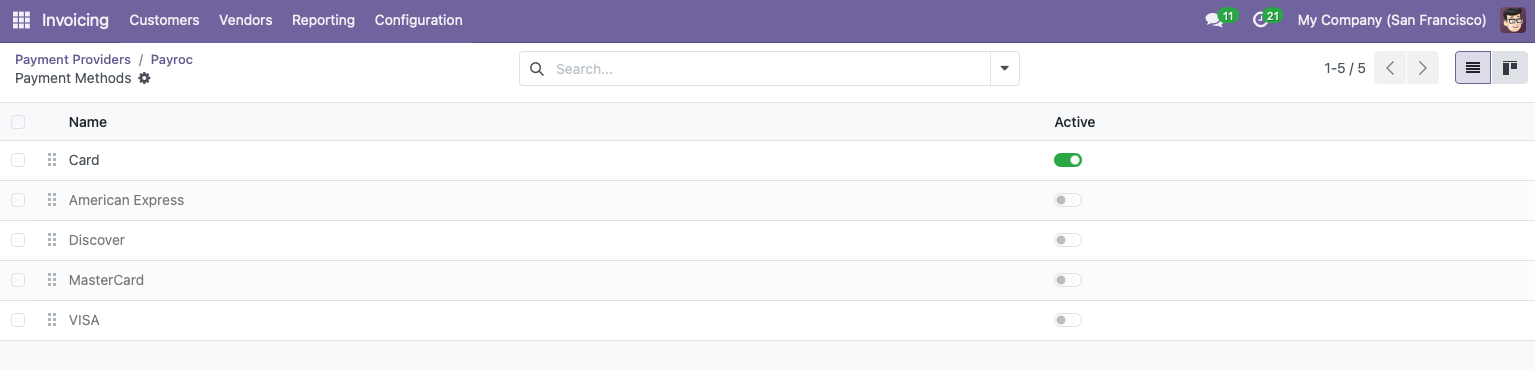
On Configuration → Payment Methods, keep Card enabled for online card checkout.
Optional: authorize then capture
If your Payroc account supports pre-authorization:
-
Enable Capture Amount Manually on the provider (or related payment method settings, per your Odoo version).
-
Sales may authorize first; staff capture or void later from the payment transaction.
If you are unsure whether your account supports this, leave it off and ask PBS / Payroc.
Next steps
-
Configure Payroc POS Methods - wire the provider into POS
-
Payroc Online Payments - invoice / portal checkout